When it comes to controlling drum resonance without compromising tone, the TONE FILTER by DRUMMERS TOP TEAM has been gaining attention from professional drummers and recording engineers around the world. Designed in collaboration with NiCSo, a Japanese acoustic materials manufacturer, this innovative tool allows drummers to precisely manage sustain and mic bleed—both in live and studio settings.
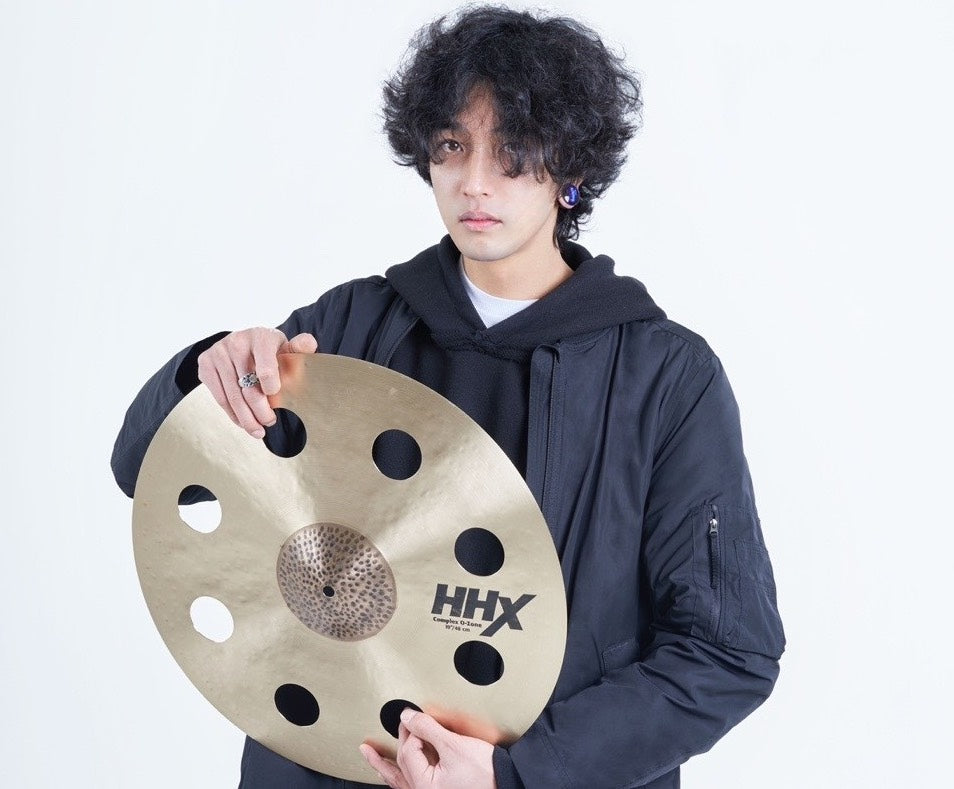
Among the many professionals who have adopted the Tone Filter is Zune, drummer of the Korean band Adios Audio. Known for his dynamic performances and refined sense of sound, Zune has worked across genres, from live touring to studio production, establishing himself as one of South Korea’s most promising young drummers.
In this interview, Zune shares his honest impressions of the Tone Filter—how he discovered it, what makes it unique, and why he believes it’s an essential tool for drummers seeking total sound control.

A1. I first saw the Tone Filter on YouTube about three years ago, and it made a strong impression on me. (I even left a comment at the time!)
The idea of controlling only the resonance while keeping the drum’s tone intact completely blew my mind.
Q2. You’ve been using the Tone Filter regularly—what was your first impression when you actually tried it?
A2. Honestly, I already had complete trust in it before even using it. Since I also work in drum recording, I knew that if it could make that much of a difference in a miked sound, the live acoustic result would be even more impressive.
When I finally tried it, I literally said “wow.” It was incredible—so impressive that I wondered, “Why has no one made something like this before?” It was truly a shock in the best way.

Q3. After using it in the studio and live performances, how did you feel about the changes in sound—especially sustain and bleed control?
A3. I immediately noticed how much more control I had over everything. The mic bleed was significantly reduced, and controlling the sustain of the toms became incredibly easy.
What really surprised me was realizing that the floor tom mic was picking up bass frequencies from the bassist’s performance—something I hadn’t expected. The Tone Filter greatly minimizes that kind of interference.
Q4. How has the Tone Filter helped you in recording sessions during mic placement?
A4. It completely solved a long-standing problem: when the pitch and tone are already great, but you just want to control the resonance.
The Tone Filter precisely targets and reduces only the unwanted sustain. I was also impressed by how well it helped manage cymbal sound control.
Q5. In what situations do you find the Tone Filter especially useful, and what problems does it solve?
A5. When you try to control unwanted resonance with gels or dampeners, the overall tone tends to change.
But the Tone Filter only controls sustain, leaving the tone untouched—allowing me to achieve a more refined drum sound. That’s the biggest difference.

Q6. Have you used the 13-inch model as well? How do you use each size differently?
A6. Yes, I use the 13-inch model too. I mainly use it between the kick and snare to reduce kick bleed into the snare bottom mic, in front of the kick drum to slightly tighten the low end, and under the floor tom to control sustain.
The 10-inch model is perfect for adjusting tom sustain, reducing bleed between the snare and hi-hat, or even placing under cymbals when I want to fine-tune their tone.
Q7. How do you find the setup and installation process?
A7. It’s extremely easy and convenient to install. However, I did find the durability could be slightly improved.
Q8. If you were to recommend the Tone Filter to other drummers or engineers, what key points would you highlight?
A8. It reduces mic bleed between instruments while maintaining the natural tone, and it controls sustain precisely.
That’s a huge advantage during mic placement—and the overall results you get from it are truly outstanding.

Q9. Are there any improvements or new versions you’d like to see in the future?
A9. Depending on the drum setup, it can sometimes be difficult to mount since it currently has only two joint sections.
If the arm had an additional joint, it would allow for more flexible positioning. I’d also love to see a dedicated version designed specifically to control bleed between the snare and hi-hat.
And regarding durability, a bit more strength would be appreciated. In live settings, the tom arm joint can loosen due to vibration, and I’ve even had the wooden base of the 13-inch model get damaged before.
Q10. From a professional drummer’s perspective, who would you most recommend the Tone Filter to?
A10. I think it’s a must-have for drummers who want a drier sound or who care deeply about achieving high-quality recording sources.
But even for drummers who prefer a more open sound, the Tone Filter can actually help make that openness stand out even more.

Q11. What do you think about the cost-performance ratio of the Tone Filter (10-inch $120 / 13-inch $130)?
A11. That’s actually a really tough question. In high-end audio environments, improving sound quality by just 1–2% can require investing millions of yen—or even more—in equipment.
No matter the field, pushing beyond the top level always comes at a cost. So considering the results, I think the Tone Filter is absolutely worth the price.
That said, I understand that many drummers and engineers might find the price high, which makes me feel a bit sad—because it truly deserves recognition for what it delivers.
Q12. Finally, what’s the biggest benefit you’ve gained from using the Tone Filter?
A12. I’ve gained full control over all the resonance in my drums, allowing me to express exactly the sound I envision.
That’s been the biggest benefit—and it honestly makes me happy.
Thank you so much for creating such an amazing product!
Thank you so much Zune!
Instagram: https://www.instagram.com/zune8892/
Facebook: facebook.com/D.R.Zune
YouTube: https://www.youtube.com/@zunedrum
Check Tone Filter!

